Reviewed for the planned Early Access version
Dimraeth Starter Walkthrough
This walkthrough gives you a direction without pretending the opening is a rigid corridor.
§Lost Caverns#
Use the opening area to test basic attacks, dodging, blocking or parrying where available, and each equipped spell. Collect common materials, but do not let gathering hide the route forward.
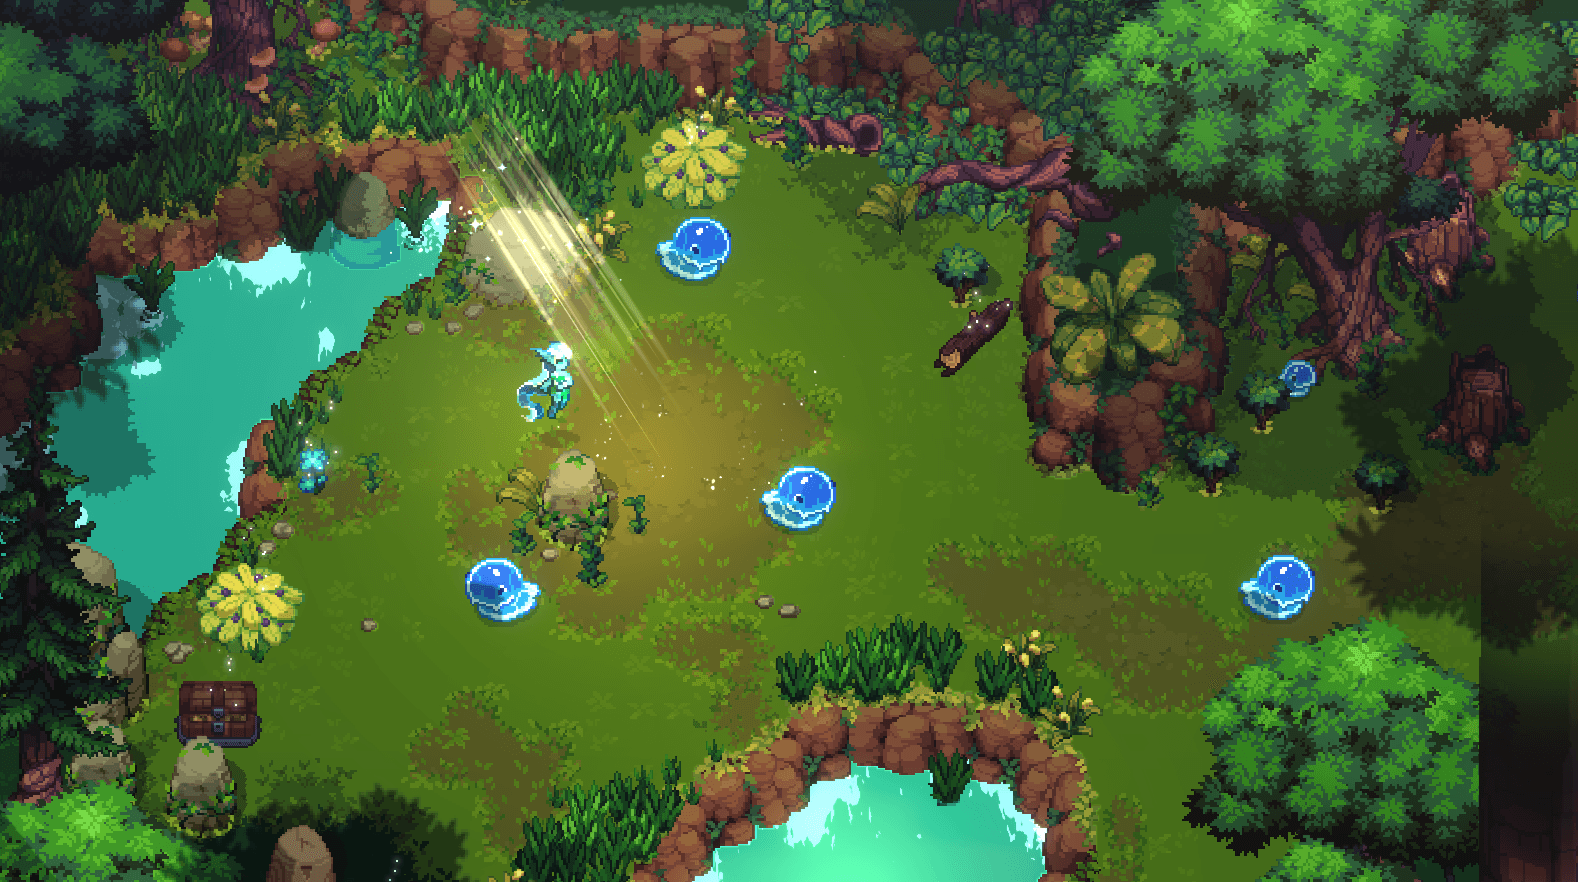
- Test every input
- Practice leaving stamina in reserve
- Check interactable objects and exits
§Earlwood#
Treat Earlwood as an orientation stop. Speak with visible NPCs, identify services, and note the paths that lead back toward safety and forward into the forest.
- Clear conversation markers
- Identify crafting and recovery facilities
- Keep the main route distinct from optional exploration
§Approaching Wildwood#
Before moving deeper, repair the weak point in your loadout. Carry recovery, equip one spell for space control, and return excess materials to the world facilities you intend to keep using.
- Prepare before a boss-sized encounter
- Use the map as orientation, not proof of every secret
- Expect Early Access route details to change
§Keep the route from filling your inventory#
The starter route introduces materials faster than it explains every future use. Keep items tied to an immediate recipe, equipment comparison, quest, or known facility. When the inventory becomes a list of unknown possibilities, return to Earlwood or the stronghold and process what already has a purpose.
Do not postpone every upgrade while waiting for perfect gear. A modest improvement that makes the next region safer can be worth more than materials sitting unused through several failed attempts.
- Keep quest items distinct
- Compare equipment before storing it
- Craft for the next route
- Use affordable upgrades that solve a current problem
§Know when to enter Wildwood#
Enter the Wildwood when normal enemies no longer force you to spend every recovery item, the five-spell bar covers more than raw damage, and you can return to a service hub without guessing. If the transition feels abrupt, revisit Earlwood conversations and check whether a stronghold or equipment task was left unfinished.
- Normal fights leave resources in reserve
- The route back is familiar
- NPC conversations are cleared
- A boss-ready recovery plan exists
§FAQ#
Does this walkthrough list every quest step?
No. It stays spoiler-light and avoids exact flags that lack current official confirmation.
Can I explore out of order?
The game is presented as an open world, so the route is a reliable orientation path rather than a mandatory script.
§Related pages#
GuideArticle
Dimraeth Getting Started Guide
Learn the first route, core meters, spell loadout, persistence rules, and a practical first-session plan.
GuideArticle
Dimraeth Map and Regions Guide
Orient yourself through the starter region, Earlwood, Wildwood, and a shared world's persistent landmarks.
GuideArticle
Dimraeth Quests and Story Guide
Understand main quests, Deeds, Bounties, NPC routing, and the boundary between story guidance and spoilers.
GuideArticle
Dimraeth Stronghold Guide
Use the stronghold as a persistent base for crafting, services, storage decisions, and shared-world planning.